How to fold a mini book
If you’ve been been teaching young learners, then no doubt, you are familiar with all sorts of mini books. We use them for everything from introducing new vocab to reading practice to Science to Math and so on.
There are plenty available online but if you’re like me, you enjoy making them yourself. I love picking out the clip art and choosing the font so be sure to grab yourself the FREE blank mini book template blank template.
If you’re completely new to mini books and are unsure how to fold them, then do not worry. The video above shows you exactly how to do it and also shows how easy it is or keep reading below.
Step 1:

Print out your mini book and cut the outline.
Step 2
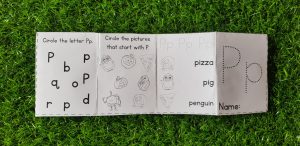
Fold the paper in half.
Step 3
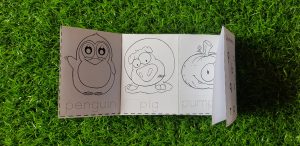
Fold the paper on all the vertical lines.
Step 4
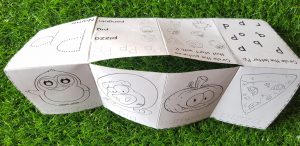
Now cut your book on the dotted line in the middle of the paper. This is going to help fold it into its final shape.
Step 5
Now you’ré going to pull the two center vertical lines (where you cut the middle horizontal line) to create this shape as seen above.
Step 6

You’ve reached the final step. Just fold the cover over and you now have your very own mini book. How fun! 🙂
We’d love to hear from you. Let us know what you think and stay tuned for some more exciting activities.
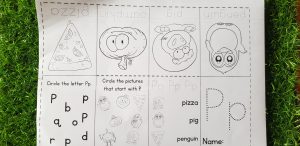
Download your own Letter P mini book:
Have a magical day!
Laura 🙂


